
How to Remove Embroidery from Clothes – A Step-by-Step Guide 2025
Why You Might Want to Remove Embroidery
Sometimes you fall in love with a piece of clothing... except for that bold, scratchy embroidery screaming across the chest. Whether it’s a corporate logo, a design that just isn’t your vibe, or a patch that itches like crazy — embroidery can ruin an otherwise perfect piece.
The good news? With patience and the right tools, you can remove it — cleanly, safely, and without destroying your fabric. Here's how.

What You’ll Need
Before you begin, gather a few essentials:
- Small, sharp embroidery scissors (or a seam ripper)
- Tweezers
- A lint roller or tape
- A magnifying light (optional but helpful)
- A steady hand and a little bit of time
Step-by-Step: How to Remove Embroidery (Without Glue Backing)
1. Flip the Garment Inside Out
This is key. You always want to start from the inside of the garment. That’s where the stitching knots and threads are exposed and easiest to cut without damaging the outer layer.
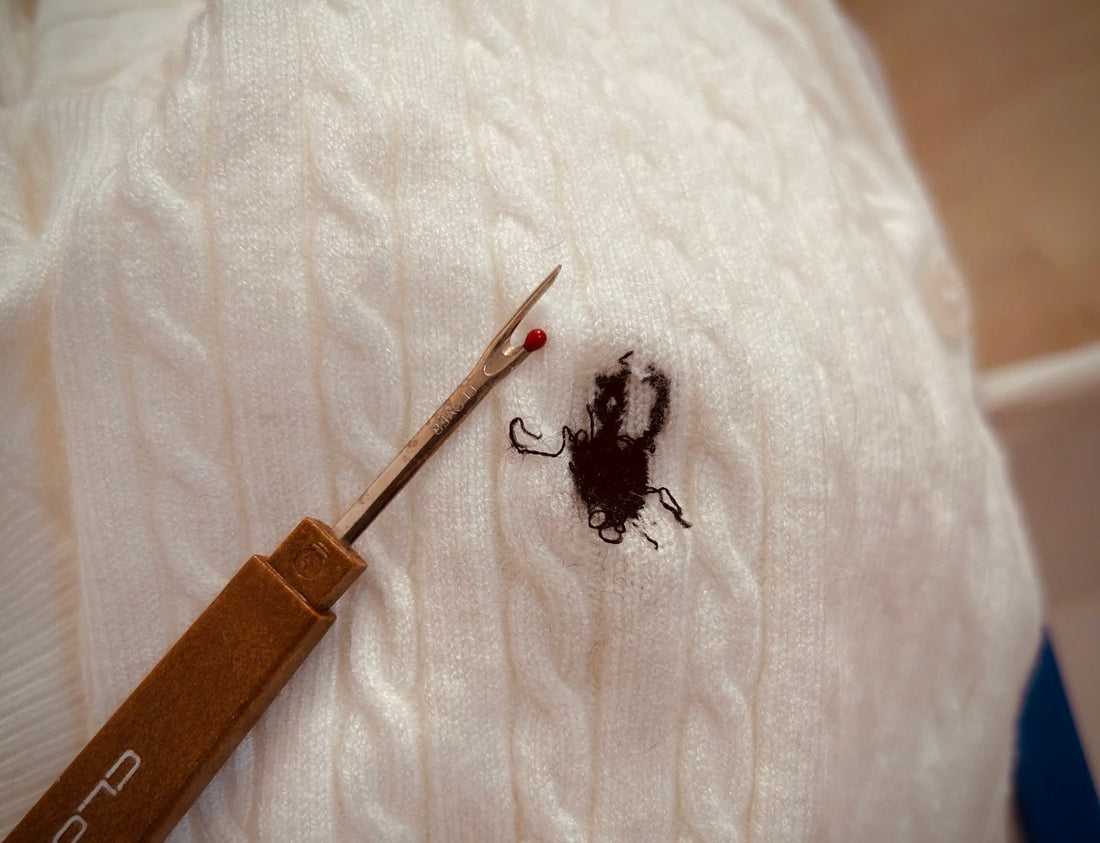
2. Locate the Starting Thread
Look for the end of the embroidery thread — usually it’s knotted or looped. Begin here and gently insert your scissors or seam ripper to snip one or two threads.
Pro Tip: Don’t cut too many threads at once. This increases the risk of nicking the fabric.
3. Work in Small Sections
Gently continue cutting thread by thread. As you go, flip the fabric back to the front occasionally and begin to tug lightly at the loose stitches with your tweezers.
DO NOT pull aggressively. If the threads resist, there are likely still stitches holding them in place on the back.
4. Use Tweezers to Lift Loose Threads
Once some threads are cut, use tweezers to carefully pull them out from the front of the garment. If they resist, go back and check the underside — there's probably one more stitch holding them down.
5. Clean Up With a Lint Roller or Tape
Embroidery tends to leave behind small fuzz and broken thread bits. A lint roller, masking tape, or even a soft toothbrush can help tidy up the area.

A Faster Method for Simple Embroidery: Use a Brow Razor
If the embroidery isn’t too dense or complicated, here’s a trick that can save you a lot of time — use a brow razor (yes, the one from your makeup kit).
Here’s how:
-
Flip the garment inside out, just like before.
-
Gently run the brow razor along the threads on the back of the embroidery. It’s best to work in short, careful strokes and go with the direction of the stitching, not across.
-
As you slice the bottom threads, the embroidery threads on the front will begin to loosen.
-
Flip the garment right-side out and gently pull out the loosened threads using tweezers.
Important: This method only works well for light or medium embroidery. Avoid it if the embroidery is thick, tightly packed, or near delicate fabric — and never press too hard, or you risk slicing the fabric itself.
Used carefully, this is one of the fastest ways to clear up a logo or a simple design without having to snip every single stitch.
What If the Embroidery Has Adhesive or Backing Glue?
Some embroidery designs (especially patches or mass-manufactured logos) have a layer of adhesive film or backing.
Here’s what to do:
1. Apply Heat to Soften the Glue
Use a hair dryer or a warm (not hot) iron on the back of the fabric to soften the glue. Do not apply the heat directly to the embroidery on the front.
2. Peel Slowly
Once the glue is warmed, the backing should start to lift. Use tweezers to gently pull it off. If it’s stubborn, reheat and try again.
3. Remove Remaining Glue Residue
After peeling, you might notice some glue left on the fabric. Here’s how to deal with it:
- Try dabbing with rubbing alcohol or acetone using a cotton swab (test on a hidden area first).
- For delicate fabrics, use a gentle fabric-safe adhesive remover.

Can You Just Rip It Off?
You can, but you shouldn’t.
Pulling embroidery off without loosening the threads can damage the weave of your fabric and leave permanent holes. Think of embroidery like a tattoo for fabric — it was sewn to stay.
What Kind of Scissors Should You Use?
Look for precision embroidery scissors or a fine-tipped seam ripper. The thinner and sharper the blade, the better your control. Avoid bulky scissors — they’re more likely to cut through the fabric by accident.
What to Expect Afterwards
After removal, the fabric may show faint needle holes or marks, especially on tighter weaves like cotton or twill. These often fade after washing and light steaming, but if you want to cover the spot:
- Add your own patch
- Use fabric paint
- Add a minimal stitch for a decorative touch
Final Thoughts
Removing embroidery is a little like a meditation: slow, methodical, and oddly satisfying. Whether you're giving new life to a thrifted hoodie or just trying to make a shirt wearable again, it's all possible with the right approach.
And if this all sounds like a lot of effort? You’re not wrong. But neither is living with a scratchy patch that makes you itch like crazy.
Related Reads on Fabric Care: